My little sister just turned 21. She likes to write stories. She also just lost her primary USB, with data on it which she didn't have saved anywhere else (partly because she had run out of space on her laptop).
From there, the idea for her present blossomed (and then reached fruition very quickly.... ahh, deadlines!)
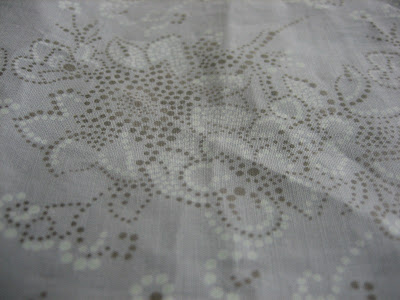
First of all, I bought her a 320GB external hard drive. I promptly decided that she needed a pretty case to keep it & the cable in, and a pen & pad for spontaneous writing.... I was happy to finally have a project to use my Little Red Riding Hood FQ from Kokka.
I was inspired by all the handy organising rolls I had seen floating around. Here are some links to such tutorials, in no particular order, in case you want to make your own:
- Roll-up crochet hook case tutorial @ PlanetJune
- Crochet project roll tutorial @ Sew,Mama,Sew! by Thornberry
- Passport organiser @ Dollar Store Crafts
- Take-along placemat @ Patchwork and other sewing projects
- Fold-up crayon pouch @ Nested
- Keep on rollin' @ Skip to my Lou
- (Sewing) Class roll @ You Sew, Girl!

I decided I wanted the hard drive & accessories to sit neatly in a row, whereas I wanted the book to be able to be opened without needing to take it out. I guesstimated some dimensions for all the pieces I'd need.
As I would only have one shot at the cutting & assembling, I took the unprecedented step (for me!) of testing my pattern with some scrap material first (in this case an old sheet). I cut and pinned and uhmed and ahhed and finally adjusted the final pattern piece sizes.

As you can see, I decided to have a huge top flap to stop the hard drive from falling out. I also decided to sew in a layer of bamboo batting to protect it a little bit form bumps and scratches.

My original design had a thin strip of fabric running through the spirals of the book and clipping at the top - this would stop the book from moving around too much. In the end though, the pocket was tight enough that it wasn't necessary.

I had planned to have the roll close using a pair of cute wooden buttons. Two disastrous button-hole attempts later, and I gave up on that idea. Hello, velcro!

Luckily I'd made the closing strap extra long, and I simply trimmed it back after each attempt, folded under the new raw edge and sewed it shut again. Velcro is far easier to use anyway... though it's not as pretty having the extra sew line for it showing on the strap.
Also, sewing the second piece of velcro onto the main part (behind the pocket where the external drive is) was pretty difficult as I'd already sewn everything up. It had to be done mostly by hand.
My sister loved it, and I wouldn't mind having something similar myself. Why is my hard drive roaming around somewhere, getting scratched & losing its cable? Why don't I ever make things for myself? I seem to get most creative when creating for others. And now that I've "done" the external drive case, I'm sure I'll be looking to try something new for my next project....


