
I don't know what happened, here. I woke up one morning and spied the orange colour of these large beads in the bookcase near my bed.
 This is not my artwork. A friend of mine gave it to me after I complimented him on it many years ago. Now a special event of his is coming up, and yesterday was the 9th International Morsbagging Sunday, so I decided to print some Morsbags with his design on them.
 This was the first print. I made two, because I wanted to make the most out of all that cutting! As you can see, it's the inverse of the original artwork. It was simple because, as you can see from a couple of photos back, it was made from a single cut-out.
 Here is the second, more fiddly bag. For this one, I ironed down all the remaining cut-out pieces one by one.


 My desk is my creative hub. It is the only space I have for work and play. A mix of uni work, personal work and crafting.
 I had some flowers fading fast, so I decided it was time to do some flower-pressing!
 I love the design & colours of this flower-press, which is from my childhood. It still has bits of paper & cardboard from back in the day wedged inside it...
 After a few weeks, I could wait no longer and prised open the press.

 Here are the finished bags! The material is from 4 single sheets from my childhood. There wasn't quite enough for them all to have matching handles, so I decided that some of them would get one black handle which would then work into a design. Much like the red lemur bag!
 Next came the planning stage. This involved lots of quick sketches to get some inspiration. I ended up with 17 bags to stencil! So far, I've managed...
 A snake bag...
 A hanging monkey bag (with one skinny ankle)....
 A power cord bag (with sparks - first time I've used colour fabric paint)...
 An umbrella bag...
 A cat bag (I used a photo to design this one, hence its realism)...
There's a bit of go-go-gadget arm action happening there. And some cankles. And boy is that ape one fatty boombah. No more bananas for you!
Six down, eleven to go... If you have any ideas, please share!

 I had different colours of felt to work with, so it came out a little differently. Still pretty cute, I reckon.
 I left Lorretta attached to a tree near one of Lake Burley Griffin's walking tracks (Canberra, Australia) around midday.
 You may recall I did a Toy Society Drop (#1179) earlier this year called No llores, Lorretta!

 The files below have been updated, and the old version is still available too.
  I first saw a pattern for a book sleeve in Zakka Sewing. I'd been waiting for a special occasion to make one, as unfortunately books here come in every size and shape, making such a sleeve unlikely to be reusable for other books.
 (Spot the cathy cullis doll in the pic above!)

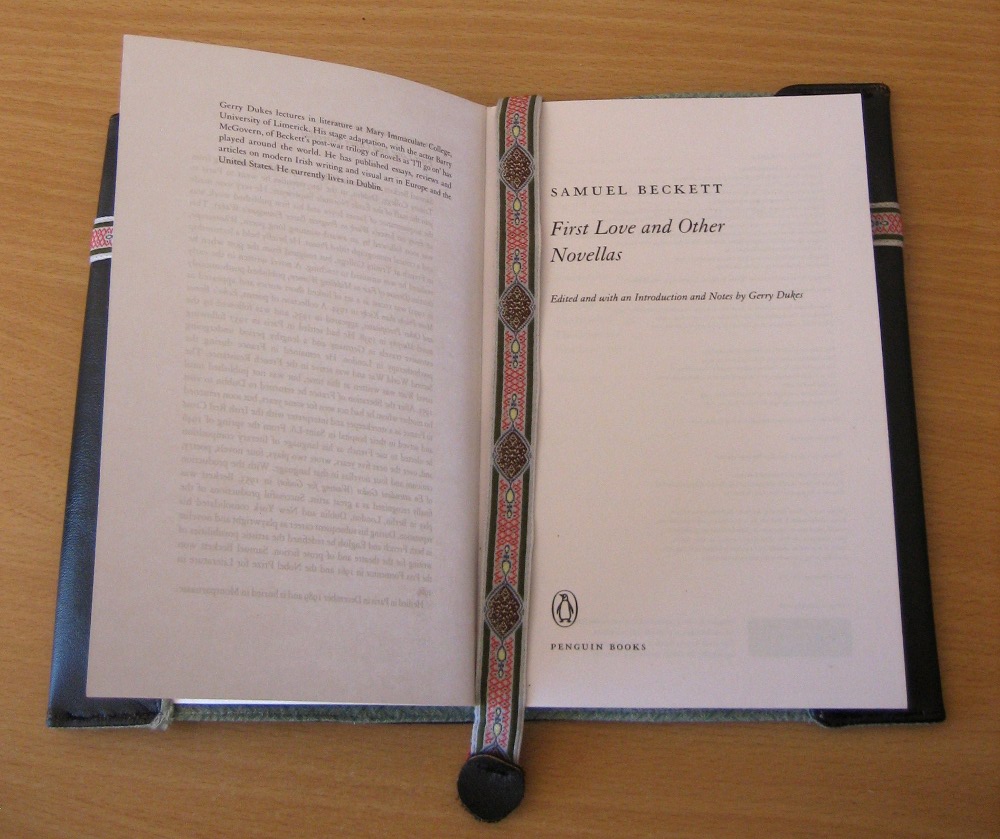
 I also had some beautiful woven ribbon that I'd picked up from my local op-shop which I used to embellish the book and make a bookmark.
 I guess I can always whip up some blank books in that size to fit inside the sleeve for future gifts!
 I think I may be late to the "Artisan bread in 5 minutes a day" party.... The master recipe is available free online, so go forth and experiment if you haven't already!


 My honours thesis is due in under three months, so expect a lot of procrastination crafting!
 This month's activity was stamp carving, and there are some great tutorials listed for it if you're interested. I'd been a little disheartened by my attempt to carve lino, but carving erasers was a much nicer experience!
 These are just delicious. Crunchy on the outside and a touch chewy on the inside. The perfect pick-me-up! I got the recipe from Vegan Yum Yum's book, the same one I got the apple strudel recipe from. Having a vegan housemate is certainly a good excuse to do some fun baking...
 Here's Constance bunny, next to Clementine. I do hope that cup of tea is for me. There are so many lovely prints & originals available from the tollipop etsy shop.
 I'm a late comer to the Envelope project over at Meet me at Mike´s. I was motivated to join in the fun after seeing the envelopes that Anna Bartlett and Ingela Parrhenius sent in. The idea is that the decorated envelopes will be displayed in Pip's shop, and then one participant will be drawn at random and will receive the contents of all the envelopes. You can see the full set of photos over at flickr. If you want to join in, make sure your envelope arrives before the 2nd of August!
 Here's a sneak peak of the contents of my envelope. On the left is a sweet gocco print of a bowerbird from Stellar Baby. On the right are two bookmarks - one is from a Colombian book shop (it says "reading is the key") and the other is from New Caledonia.
 This bag was decidedly plain and brown, so I decided it needed jazzing up with some birds sitting around on a wire. Which I made into a branch on the spur of the moment by branching one end and making the second one a little curvy.
 Also, I recommend properly ironing down the freezer paper stencil and always painting away from the edges. Otherwise you end up with blobs like those you can see in the close-up above. But remember... it's a branch! Saved!
 The next Morsbag was cute on its own, made from a thrifted cushion cover. The polka-dots reminded me of snow flakes, so I decided a polar bear would be a nice addition.
 Even though I've bought coloured screen painting ink, I still end up working predominantly in black and white.
 And just to finish up, here's a picture of a stencilled Morsbag I made a little while ago from an old sheet. I have a lot more of this fabric, and I hope each one will each have a stencilled picture to distract people from the pattern!
